
Illustration: Andy Wolber/TechRepublic
Spaces and tabs both add distance between characters in a Google Doc. By default, each tap of the tab key advances your cursor to the nearest half-inch mark in a Google Doc, and every press of the space bar adds the self-descriptive space between letters. The actual space added, however, will vary depending on the font and font size. A fixed-width, or monospace, font consists of characters all of equal width, while other fonts include characters of different widths.
When you want to align text horizontally to a specific spot in your document, you’ll want to use custom tab stops. For example, you might use a center tab stop to align years in a position. If you were to use spaces, any change to the text in the line–or any modification of the font size–might disrupt your carefully spaced content. Use a tab stop, instead of spaces, whenever you wish to horizontally align text in a Google Doc, as described below.
SEE: Google Sheets: Tips and tricks (TechRepublic download)
Note: While existing tab stops properly align and display text within the Google Docs mobile apps on Android and iOS, you’ll need to access Docs in a desktop-class browser to create and/or edit tab stops.
How to add a tab stop in a Google Doc
1. Activate the ruler. Choose View | Show Ruler to toggle the display of rulers in a Google Doc (Figure A). This setting controls rulers that appear both above the top of the document and to the left of the document.
Figure A
2. Optional: Select text. By default, any tab stop you add will apply only to the current area you are editing. To add tab stops that apply to one or more paragraphs, select one or more paragraphs of text in which you want to add custom tab stops. To do this, click-and-drag to select paragraphs, or use the Edit | Select All option to make your custom tab settings apply throughout your document (Figure B).
Figure B
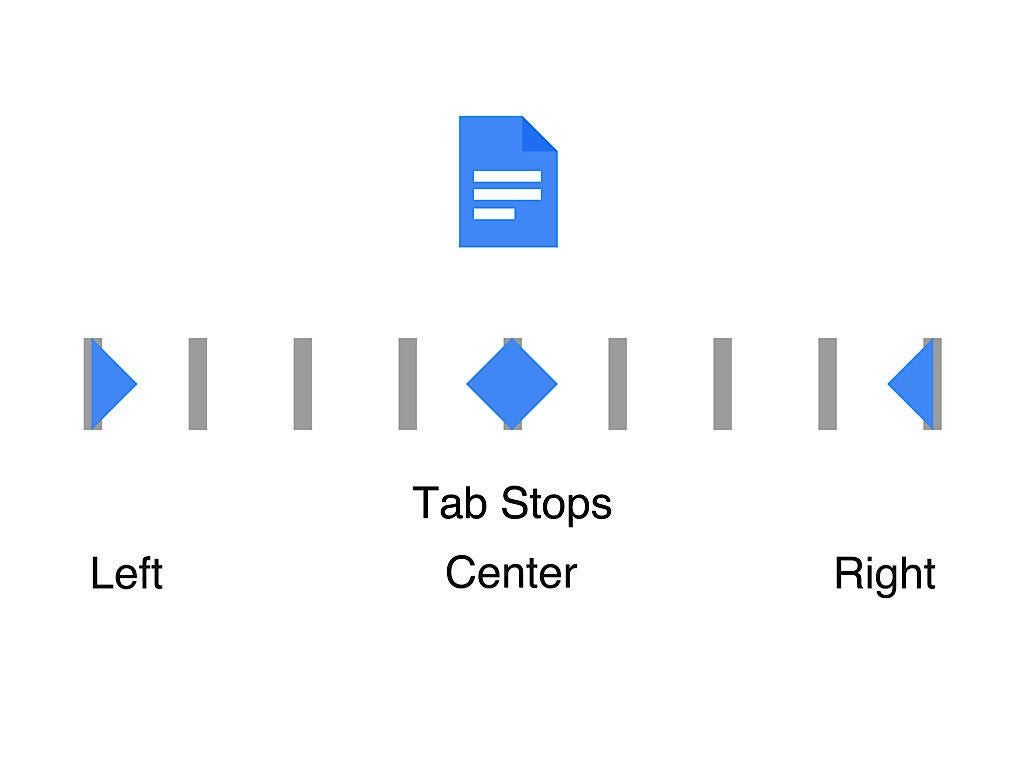
3. Add a tab stop. Click or tap on the ruler above your document, then select the type of tab stop to add (Figure C). After you click in the ruler area, you may choose from three tab stop options:
- Add Left Tab Stop
- Add Center Tab Stop
- Add Right Tab Stop
Once you insert a custom tab stop, when you press Tab, your cursor will jump to the custom tab stop first, then, if you press tab again, to the next half-inch mark with each tab press. Repeat this step to add additional custom tab stops as desired.
Figure C

4. Adjust alignment. To adjust the position of a custom tab stop, click or tap on it, then drag it right or left on the ruler, as shown in Figure D.
Figure D
5. Optional: Remove a tab stop. To remove a tab stop, place your cursor to a section of text where the tab stop is active, so that the tab stop you want to remove is displayed on the ruler. Then, move your cursor to the tab stop you want to remove, then drag it off of the ruler (Figure E). The tab stop will be removed for the corresponding section of text.
Figure E

Need more layout control?
If you want to adjust the vertical placement of text, you may add additional paragraphs or adjust the spacing between paragraphs (see How to make your Google Docs easier to read using indents and spacing for more details). There’s no equivalent to custom tab stops that will allow you to align text to a vertical position on a page. A click on the side ruler displays only one option: The ability to toggle the display of the ruler off.
If you want precise control over the placement of text on a page, you might explore a page layout program, such as Adobe InDesign (Windows and macOS), Affinity Publisher (macOS), Lucidpress (web), Microsoft Publisher (Windows), QuarkXPress (Windows and macOS), or Scribus (open source and on multiple platforms). These all allow you to control placement and alignment of text and images with greater precision than a word processing program.
Your experience?
Do you use tab stops in Google Docs often? If so, what types of content do you seek to align–numbers, text, dates, tables? For more advanced control over placement, what page layout app do you use? Let me know, either in the comments below or on Twitter (@awolber).
