There have been so many updates to Chrome OS lately that it’s hard to pin down, which new feature is the best. However, for anyone that works in a business environment one particular feature is most welcome. Said feature is the ability to add a network share to the file manager, directly from within Chrome OS. No longer do you need to install a third-party app to take care of this task as it’s baked right in. With the latest release, you can add those network shares to your Chromebook with ease.
I will demonstrate how this is done on Chrome OS 72.0.3593.0 (dev channel). You should also see this feature in the stable and beta channels as well, so Google has you covered.
SEE: Vendor comparison: Microsoft Azure, Amazon AWS, and Google Cloud (Tech Pro Research)
What you need
The only thing you’ll need is a Chromebook with the latest update applied. Of course, you also need to be logged into your Google account on your Chromebook (Otherwise, you wouldn’t be able to work with the device.).
How to create a share
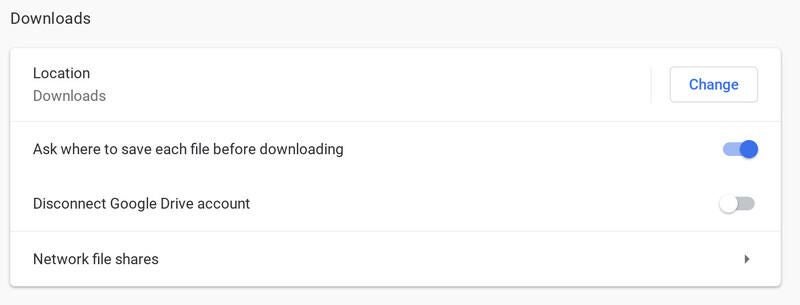
Open the Settings app on your Chromebook. Scroll down to the bottom of the app and click (or tap) Advanced. Now scroll down to the Downloads section and tap Network file shares (Figure A).
Figure A
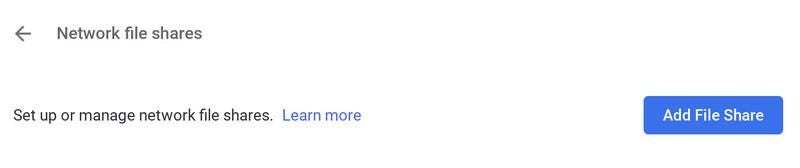
In the next window (Figure B), click (or tap) Add File Share.
Figure B
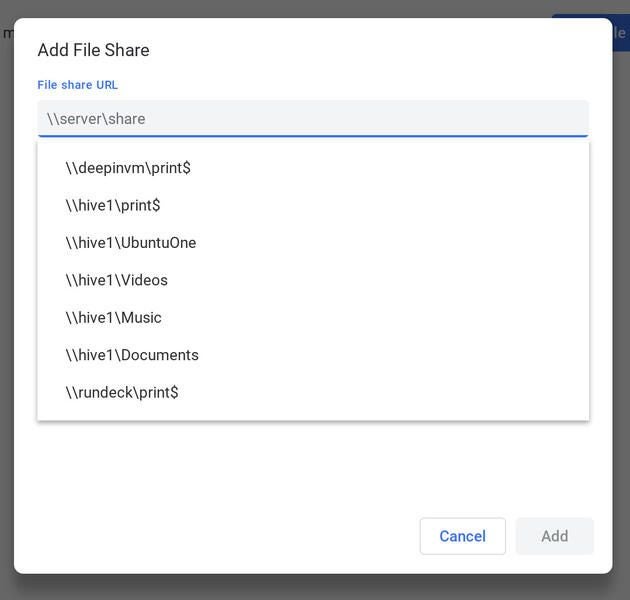
In the resulting window, click the File share URL text area. This will open a drop-down menu that will auto-populate with all of the available shares from your network (Figure C). You can either select the share you’re looking for or type it in the form of \\SERVER\SHARE (where SERVER is the server hosting the share and SHARE is the name of the shared folder).
Figure C
In the Display name section enter either the name of the share or a name that will remind you what the share is for. Next add the credentials (if necessary) for the share. Once you’ve configured the share, click the Add button, and your share will save.
Using the share
To access the share, open the My Files app, and you should see the newly added share(s) in the left pane (Figure D). Click on the share to find your files and folders ready for action.
Figure D

And that is all you need to do to add a network share to Chrome OS. Add as many network shares to your Chromebook as necessary to make working on your company network exponentially easier.