Image: BackBox
Several Linux distributions are available nowadays for security and penetration testing. BackBox Linux is one of the leading ones, with a focus on delivering the best performance while consuming as few resources as possible. It makes it an operating system that suits every hardware configuration, even older ones.
SEE: 40+ open source and Linux terms you need to know (TechRepublic Premium)
While it can be installed as a real operating system, penetration testers mostly use it as a virtual machine.
We chose to show you how it can be installed in the VirtualBox environment, but it can easily be installed on other virtual systems, like VMware or Parallels.
What you’ll need
In addition to a computer running a Windows, Macintosh or Linux distribution, VirtualBox is needed.
You also need to download the ISO file available on BackBox Linux download page (Figure A).
Figure A
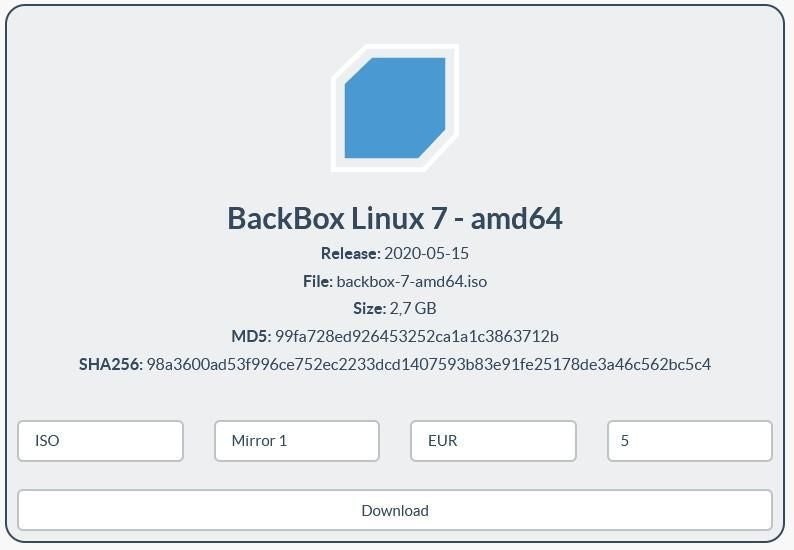
Select ISO, select a mirror and any amount of money if you like, to help the BackBox Linux staff maintain the distribution. Setting the donation to 0 makes it downloadable for free.
How to install the virtual machine
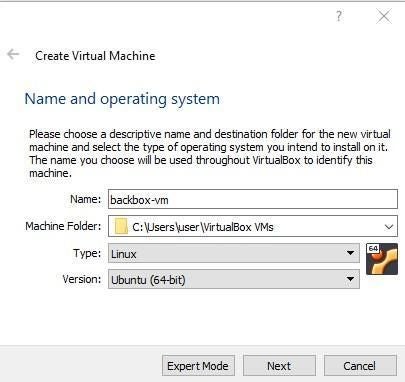
Open VirtualBox and choose Machine/New then choose a name for the virtual machine. For our installation we will call it “backbox-vm.” Choose Linux type and Ubuntu (64-bit) for the version (Figure B).
Figure B
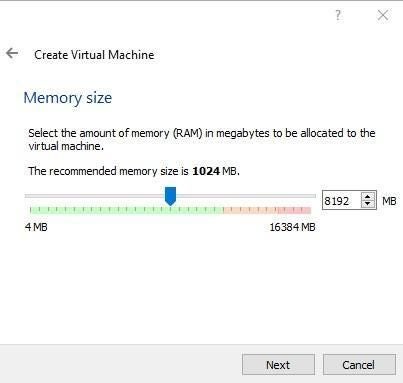
Click Next then select the size of the memory (RAM) you wish to be allocated to the virtual machine (Figure C).
Figure C
Click Next, select Create a Virtual Hard Disk Bow, then click Create. Select VDI as the hard disk file type, then click Next.
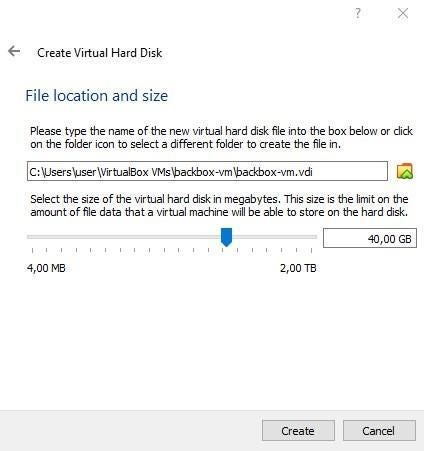
It’s now up to you to choose between a dynamically allocated virtual hard drive or a fixed-size one. The fixed-size option allows you to set a maximum size that will never change on the physical hard drive. The dynamically allocated option will only consummate disk storage as it fills up. For this kind of VM, 40 or 80GB is generally a good size, but it all depends on your hardware and the space left on it.
Next, set the size of the virtual hard drive (Figure D).
Figure D
Click Create, wait a dozen seconds while VirtualBox finishes setting it up. The virtual machine environment is now ready.
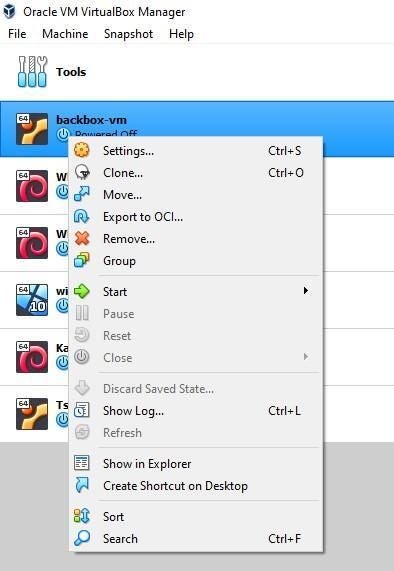
Right-click on the new virtual machine, and select Settings (Figure E).
Figure E
Change all the settings according to your needs and hardware, then go to the Storage tab, click the CD ROM image that says “Empty” in the middle pane, and click on the second CD ROM image on the right pane. Choose Disk File (Figure F).
Figure F
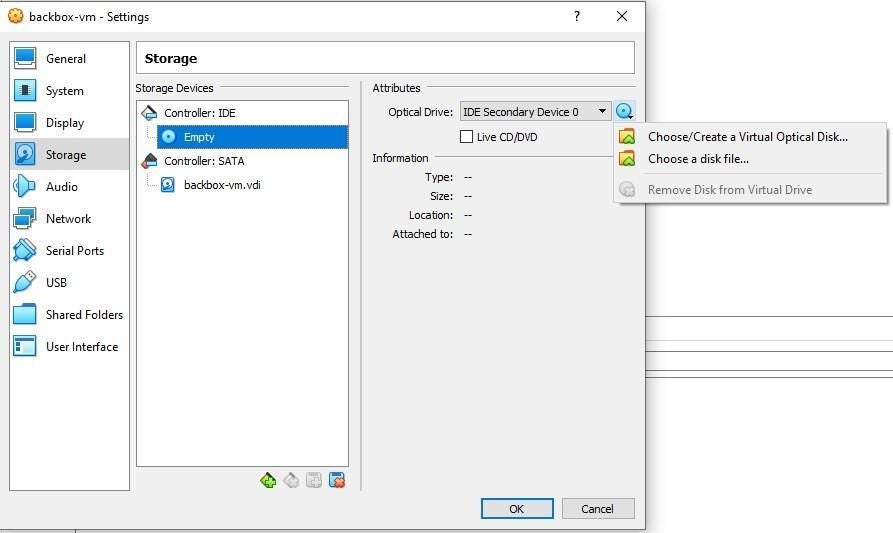
Select the ISO file, click Open, tick the Live CD/DVD option, then click OK.
Backbox is now ready for booting. Right click on the virtual machine, select Start/Normal Start.
Backbox is now launched and available for use (Figure G).
Figure G
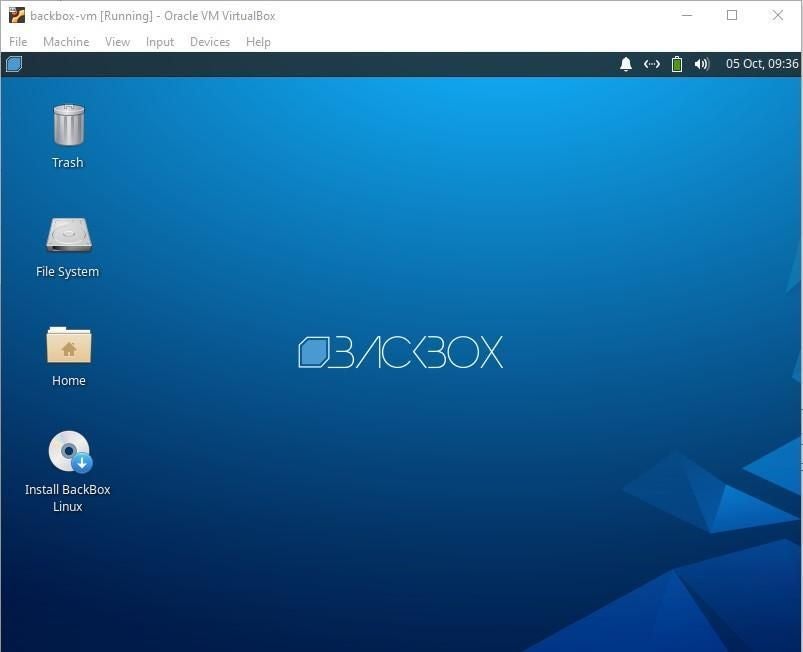
You are now free to use the distribution as is, in live CD mode, or install it definitely on the virtual hard drive by double-clicking the Install BackBox Linux icon on the desktop.
While using a Linux distribution in live CD mode is OK, installing the operating system significantly improves the performance of the virtual machine. Let’s do it.
SEE: Linux turns 30: Celebrating the open source operating system (free PDF) (TechRepublic)
Installation steps are the same as for a usual Ubuntu Linux system. It starts with asking the language for the distribution, then requests the keyboard layout.
The third step is to configure downloads for updates and third-party software acceptance (Figure H).
Figure H

You are free to tick the third-party software agreement or not. As for the download-while-installing option, it’s generally a good idea to tick it, as it saves time.
The next step is the installation type. Advanced users might configure the installation the way they want here, but the default settings are good enough: since the virtual hard drive is empty at this point, it is OK to stay on the Erase disk and install BackBox choice, and click Install Now.
The installer asks you then to set up your time zone, your username, the name for the machine and your password, and you’re all set to launch the installation.
A few minutes later, it is installed and asks for reboot. Answer Restart Now and enjoy the new virtual machine start.
Fill in the password for the user, and the distribution is ready for action (Figure I).
Figure I
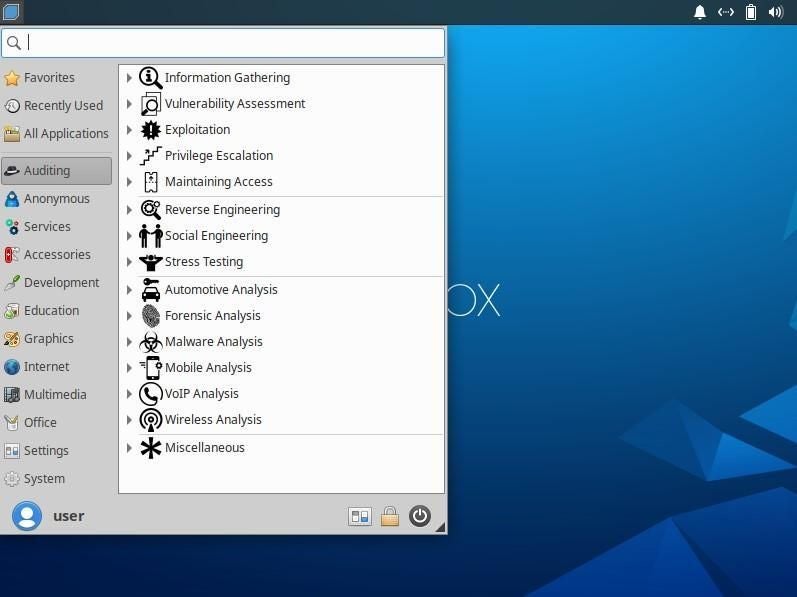
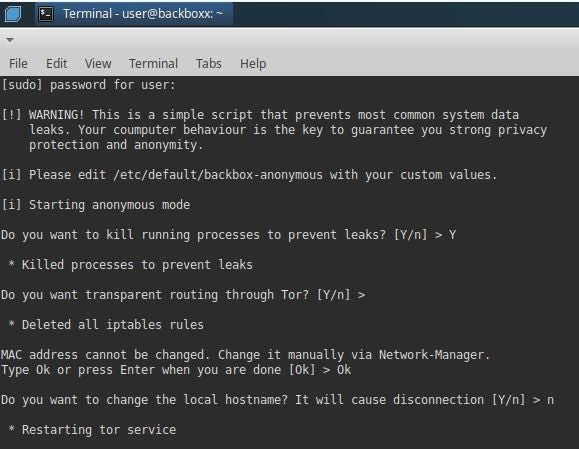
In addition to the Auditing tab is an Anonymous tab. This option allows the user to anonymize the system via the use of the Tor network. All the user needs to do is answer questions before the tor service is started (Figure J).
Figure J
How to install VirtualBox guest additions
Now is the time to install the VirtualBox Guest Additions, which will allow the virtual machine to run full screen and improve its performance.
Select Devices/Insert Guest Additions CD image in VirtualBox.
A CD icon appears, named after the VirtualBox guest additions version (Figure K):
Figure K
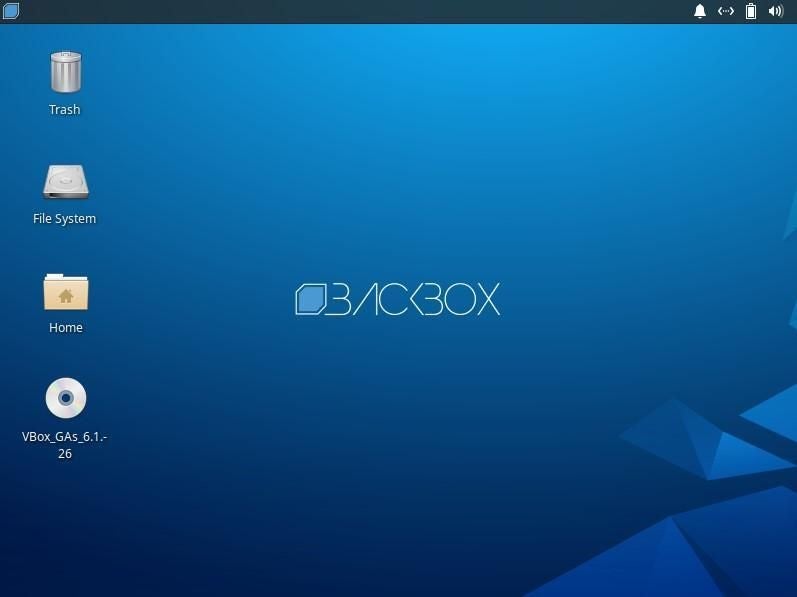
Click the Backbox logo on the upper left of the screen to access the menu, and launch the Terminal Emulator.
Once the terminal is opened, go to the folder where VirtualBox guest addition has been mounted (Figure K) by typing:
cd /media//VBox_Gas_6.1.-26/
(Protip: if you type “cd /media//VBox then hit the tab key, it should autocomplete the folder name)
Launch the VBoxLinuxAdditions.run file (Figure L) as root user by typing:
sudo ./VBoxLinuxAdditions.run
Figure L

Once the installation is done, restart the virtual machine, and you’re done, BackBox runs full screen with all the guest additions.
Backbox is one of the leading penetration testing and ethical hacking distributions, together with Kali Linux. A few differences are that Kali Linux is based on Debian, while Backbox is based on Ubuntu; and Kali Linux has a bug bounty program, while Backbox Linux has none.